Composition Notebook DIY Kit 7 for Canva
If you’re designing composition notebooks for Kindle Direct Publishing (KDP), you know how much hinges on the cover: first impressions, genre alignment, shelf visibility, and perceived professionalism. Composition Notebook DIY Kit 7 for Canva is a focused, print-ready resource built specifically for creators who want crisp, coordinated, and fully customizable covers—without starting from scratch or sacrificing quality.
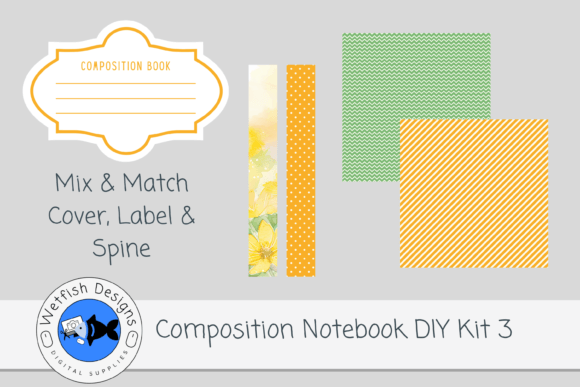
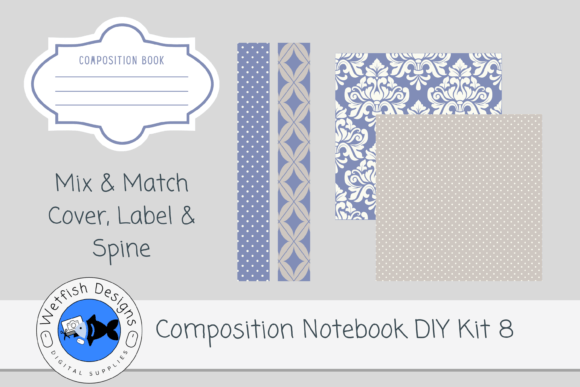
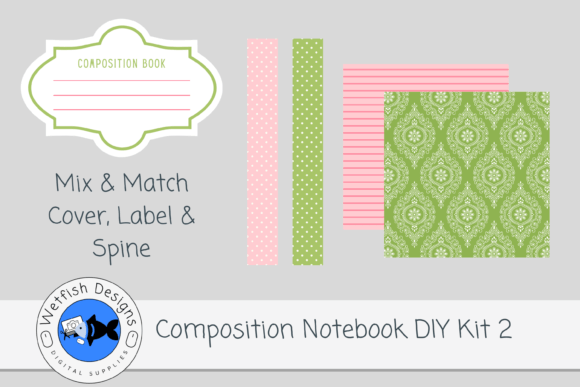
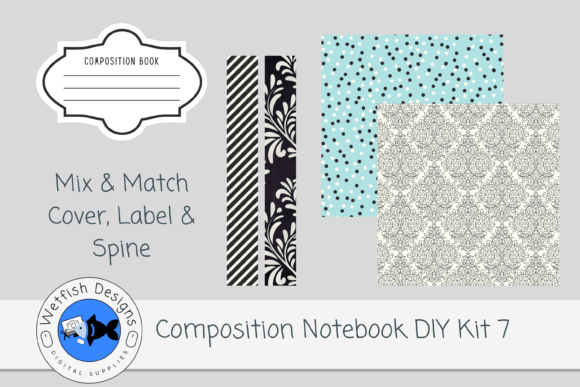
This kit includes two high-resolution spines (PNG, 300 DPI), two 12×12-inch cover paper designs (JPG, 300 DPI), and a fully editable Canva template that lets you scale, crop, and layer elements to match KDP’s exact dimensions. It’s not a full notebook package—interior pages aren’t included—but it’s precisely what many KDP sellers need: reliable, color-coordinated assets that integrate smoothly into their existing design workflow.
Common Missteps—and Why They Cost Time and Sales
Many creators assume “DIY kit” means plug-and-play simplicity—then hit roadblocks mid-design. Here’s where things often go sideways:
- Mistaking resolution for readiness. A file labeled “300 DPI” isn’t automatically KDP-compliant if it’s not sized correctly. For example, using the 12×12 JPG without adjusting bleed or spine width can lead to cropped text or misaligned creases. One creator printed 50 copies only to discover the title vanished near the spine fold—because they skipped checking KDP’s latest cover calculator.
- Overlooking format limitations. The spines are PNGs—not layered PSDs—so transparency and drop shadows work well, but you can’t edit individual vector paths or adjust embedded fonts. If you expect to swap typefaces directly inside the spine file, you’ll need to overlay new text in Canva or Photoshop instead.
- Assuming “coordinating colors” means automatic harmony. While the kit’s palette is intentionally cohesive, real-world printing (especially on matte vs. glossy stock) shifts tones subtly. A vibrant teal on screen may soften to sage on press. That’s why soft-proofing in CMYK mode—or ordering a physical proof before bulk upload—is non-negotiable for consistent branding across your catalog.
- Skipping the Canva template’s structure. The included Canva file isn’t just a blank canvas—it’s pre-set with KDP’s recommended bleed (0.125″), safe zone guides, and spine width formulas based on page count. Ignoring those layers and building freehand leads to awkward margins or unreadable back-cover blurbs.
Better Choices Start With Intentional Checks
Before downloading or designing, pause and verify three practical details:
- Your notebook’s final page count. Spine width depends entirely on this number—and KDP calculates it differently than most print calculators. Use KDP’s official Cover Calculator first. Then match that exact measurement when placing your PNG spine in Canva. Guessing adds risk; precision prevents re-uploads.
- Your export settings in Canva. Even with the right template, exporting as PNG or low-res JPG defeats the purpose. Always choose “PDF Print” (not “PDF Standard”) and confirm “CMYK” and “Embed Fonts” are enabled. This preserves color fidelity and ensures sharp edges at 300 DPI—critical for clean typography and fine-line patterns.
- How you’ll handle the front/back cover layout. The 12×12 JPGs are square—ideal for flexible cropping—but KDP requires a single horizontal file (front + spine + back). Don’t try to stitch them manually. Instead, use Canva’s template as your base: drag each JPG into its designated section (front, spine, back), then lock proportions and align using the guide lines. It takes under five minutes—and eliminates pixel drift.
Real-World Example: From Rushed to Refined
A freelance journal designer used Composition Notebook DIY Kit 7 for Canva to launch a series of mindfulness-themed notebooks. Her first attempt? She resized the 12×12 paper to fit her laptop screen, overlaid text in Word, and exported as a screenshot. The result: blurry headings, off-center logos, and a spine too narrow for her 200-page interior. She had to revise and re-upload three times.
The second time, she opened the Canva template, entered her exact page count (198), let the tool auto-calculate spine width (0.39″), uploaded both JPGs into their labeled frames, and added her title using Canva’s Montserrat Bold (a KDP-safe web font). She exported as PDF Print, ordered one proof copy—and approved the final file in under 20 minutes. That version launched with zero formatting complaints and earned 4.8 stars in early reviews.
What This Kit Does Well—And What It Doesn’t Claim To Do
Composition Notebook DIY Kit 7 for Canva excels at giving you control without complexity. The colors are balanced—not oversaturated, not washed out. The textures have subtle grain, not distracting noise. And because everything is 300 DPI and properly formatted for digital prep, you avoid the common “it looked great on my monitor but printed muddy” frustration.
It doesn’t include interior pages, templates for lined/gridded layouts, or copyright-free illustrations. That’s intentional. Bundling those would inflate price and dilute focus. If you need interiors, pair this kit with a dedicated KDP interior template—or build your own using free tools like Google Docs + Scribus for full typographic control.
Also worth noting: the PDF download contains the source file, yes—but it’s not a Canva share link. You’ll receive a downloadable .PDF that opens *in* Canva (via “File > Import”), preserving all layers and guides. No re-linking assets, no missing fonts. Just open, customize, export.
Final Thought: Design With Your Reader—and Your Timeline—in Mind
Your cover isn’t just packaging. It’s the first conversation with your reader. Clarity, cohesion, and confidence matter more than novelty alone. With Composition Notebook DIY Kit 7 for Canva, you get professional-grade building blocks—not shortcuts, but smart foundations. The difference between a cover that blends in and one that stands out often comes down to whether you measured twice before cutting once.
So check your page count. Open the Canva template. Export in PDF Print. Order a proof. Then trust the process—not because it’s effortless, but because it’s engineered to respect your time, your standards, and your audience’s expectations.